
Proxmox is the home lab “darling” as I like to call it since it is so easy to setup and intuitive to start running virtual machines and containers. I have already covered Proxmox network setup for beginners and so we want to extend that to the area of storage. We will look at the different types of Proxmox storage and how you can set these up.
Proxmox resources that need storage
First, there are a few types of Proxmox server resources that you need to be aware of that will need storage for called data. You will want to store things like:
- ISO images – read only disk images
- Container storage – storage for LXC containers
- Virtual machine storage – storage for your VMs
- Container templates – storage for LXC container images
- Directories – files
- Proxmox backup – storage for your Proxmox Backup Server
Proxmox storage options
Like most hypervisors, Proxmox allows you to configure many different types of storage for your virtual machine environment. These include the following:
- Local storage
- Shared storage including network storage
- Hyper-converged storage (HCI) with Ceph
We will look at each of these and see their strengths and weaknesses and why you might choose one over the other.
Local storage
The Local storage configuration is the first type of storage that you will likely setup when you start playing around with Proxmox in the home lab or even looking at it for production. Local storage means that you are using locally attached storage devices in the Proxmox host itself to use as storage for your virtual machines and containers.
Local storage can be blazingly fast as well as easy to setup. In fact, you can throw a couple of NVMe drives in your Proxmox host and have extremely fast VM storage for use in your environment. You can add more disks to your server if you want to provision more datastores.
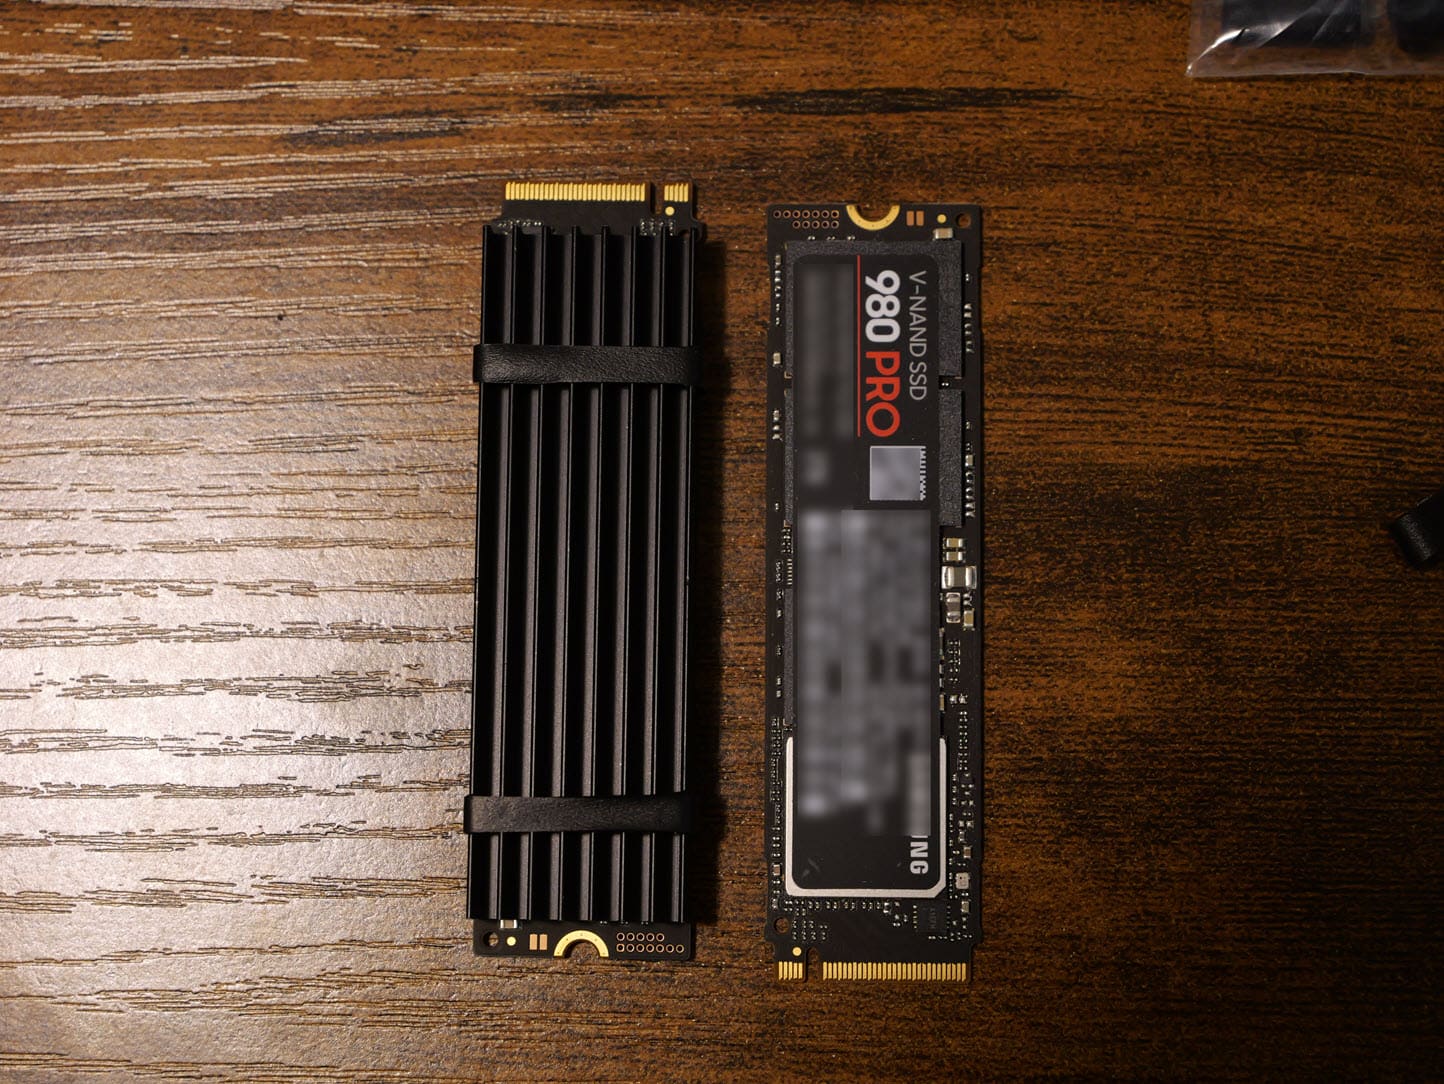
I have used many mini PCs with Proxmox installed with NVMe storage and it is super fast and can run many VMs and containers. With NVMe storage, you are more limited by the RAM than anything in most cases.
The Local storage can also be “just a bunch of disks” (JBOD), or they can be backed by some type of RAID device that allows you to lose a drive and still have your data. RAID5 and RAID6 are both very popular types of RAID configurations.
Once you have installed Proxmox, whether this is one disk, two disks, or more, you will have storage for your VMs by default as it will create a default storage pool.
How to add NVMe storage to your Proxmox server
If you want to see how to add NVMe storage to your Proxmox server, take a look at my how to write-up here: Proxmox add disk storage space – NVMe drive. This will walk you through the commands of how to add an NVMe drive to your server and provision it as storage.
Shared storage
The concept of shared storage is something that we know quite a bit about in the enterprise and this is the type of storage that allows you to benefit from things like Proxmox server clusters, Live migration of virtual machines, high availability, and failover capabilities.
Shared storage is presented to all the Proxmox hosts in your Proxmox VE cluster. Since they can all see and connect to the storage, they all have equal access to virtual machine and container storage. It means that if a host fails, the other servers can take ownership of the VMs and containers and restart these to bring them back online.
Below is a look at the Terramaster F8 SSD Plus that I recently reviewed here: Terramaster F8 SSD Plus Review: All Flash NAS with NVMe. You can use something like this for very fast and easy to share iSCSI storage between multiple Proxmox servers.
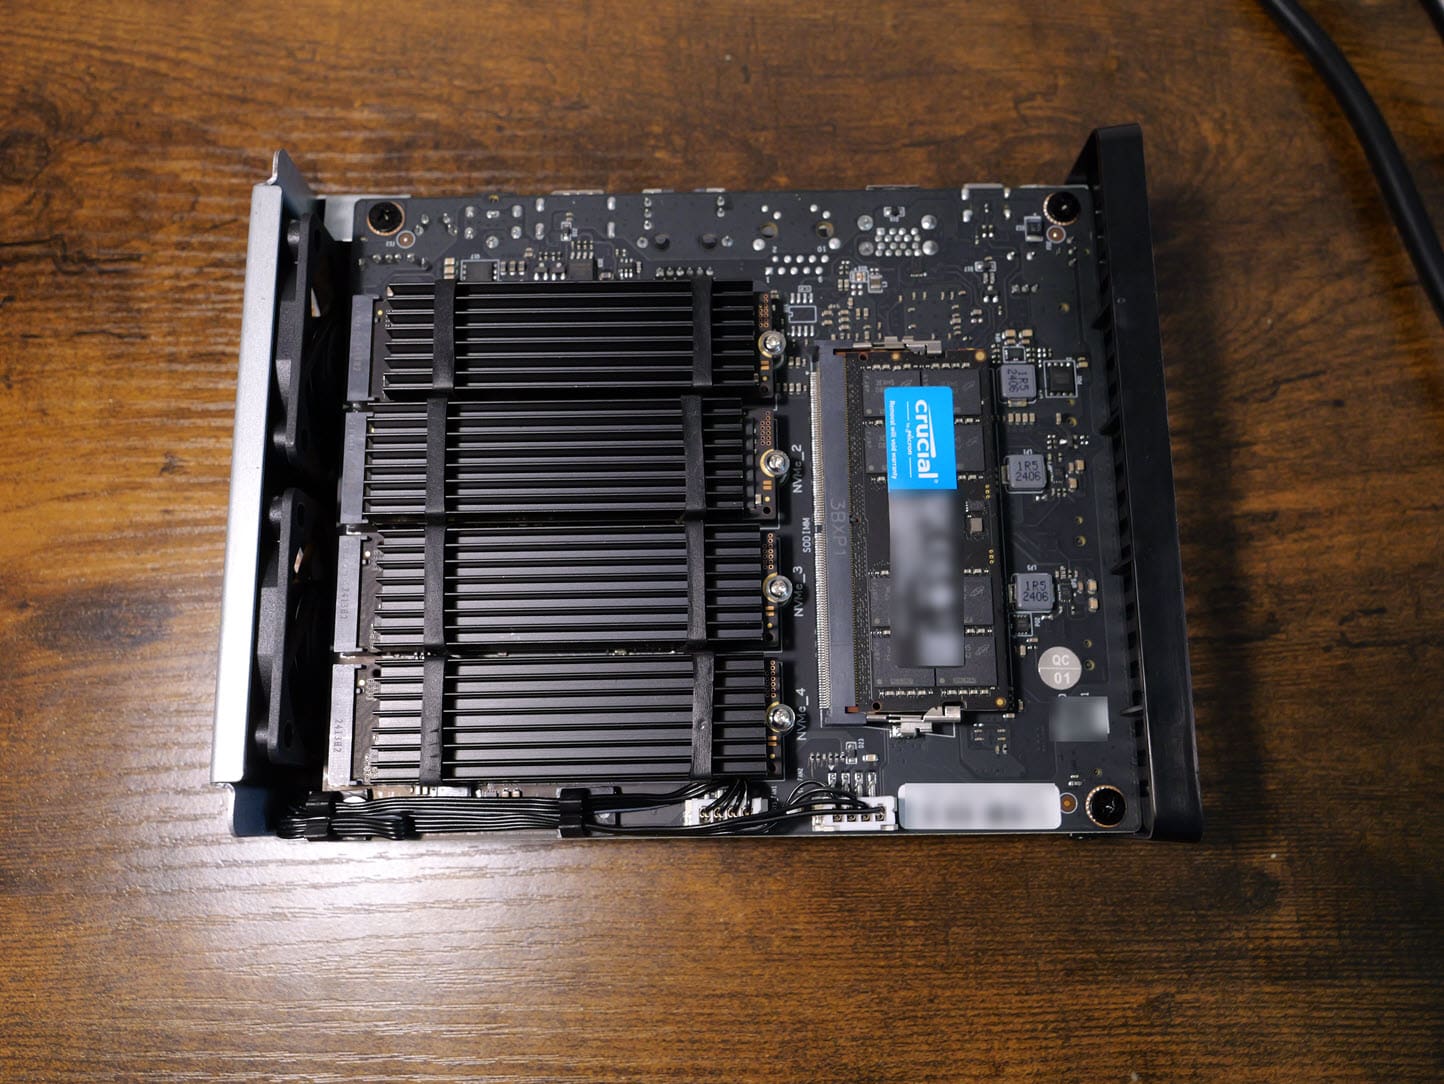
You can use shared storage technologies like iSCSI storage, which is a blog storage protocol. The iSCSI shared storage solution is great since you can use existing ethernet network gear for your underlying hardware and can even use the same networking gear running over a different VLAN.
Hyper-converged storage (HCI) with Ceph
There is a third option that I think is a great one for organizations looking at eliminating the need for expensive storage area network (SAN) or NAS devices. HCI takes the concept of local storage and allows pooling together local storage between hypervisor nodes so these are presented as one pool of storage.

Parity information is replicated between the different Proxmox hypervisor hosts so that if you have a failure of an entire node, your data is still intact. Most of these systems use some type of object storage to work.
Learn how to setup Proxmox Ceph storage with my YouTube video here:
How to setup storage configuration in Proxmox Server
What does configuring your storage configuration in Proxmox Server include? It includes many things, such as the storage type, storage ID, and content types. You can configure it using the Proxmox web interface or the command line. Most will probably do most of the storage configuration from the web interface.
You can also see the existing storage configuration located in the following file:
/etc/pve/storage.cfg
Thin provisioning
Thin provisioning is a technique that allows you to do over provisioning for your storage. In other words, we can provision 100 gigs worth of storage for a virtual machine, but on the backend storage, the storage system only takes up the amount of data that is used. So of the 100 gigs, if the operating system is only taking up 25 gigs worth of storage, this is the only storage amount you will see that is used.
Thin provisioning is used the majority of the time in modern storage systems as it allows you to allocate space as needed and have efficient use of your storage system. It is also supported by many types of storage, including LVM thin pools, and ZFS.
Viewing storage configuration
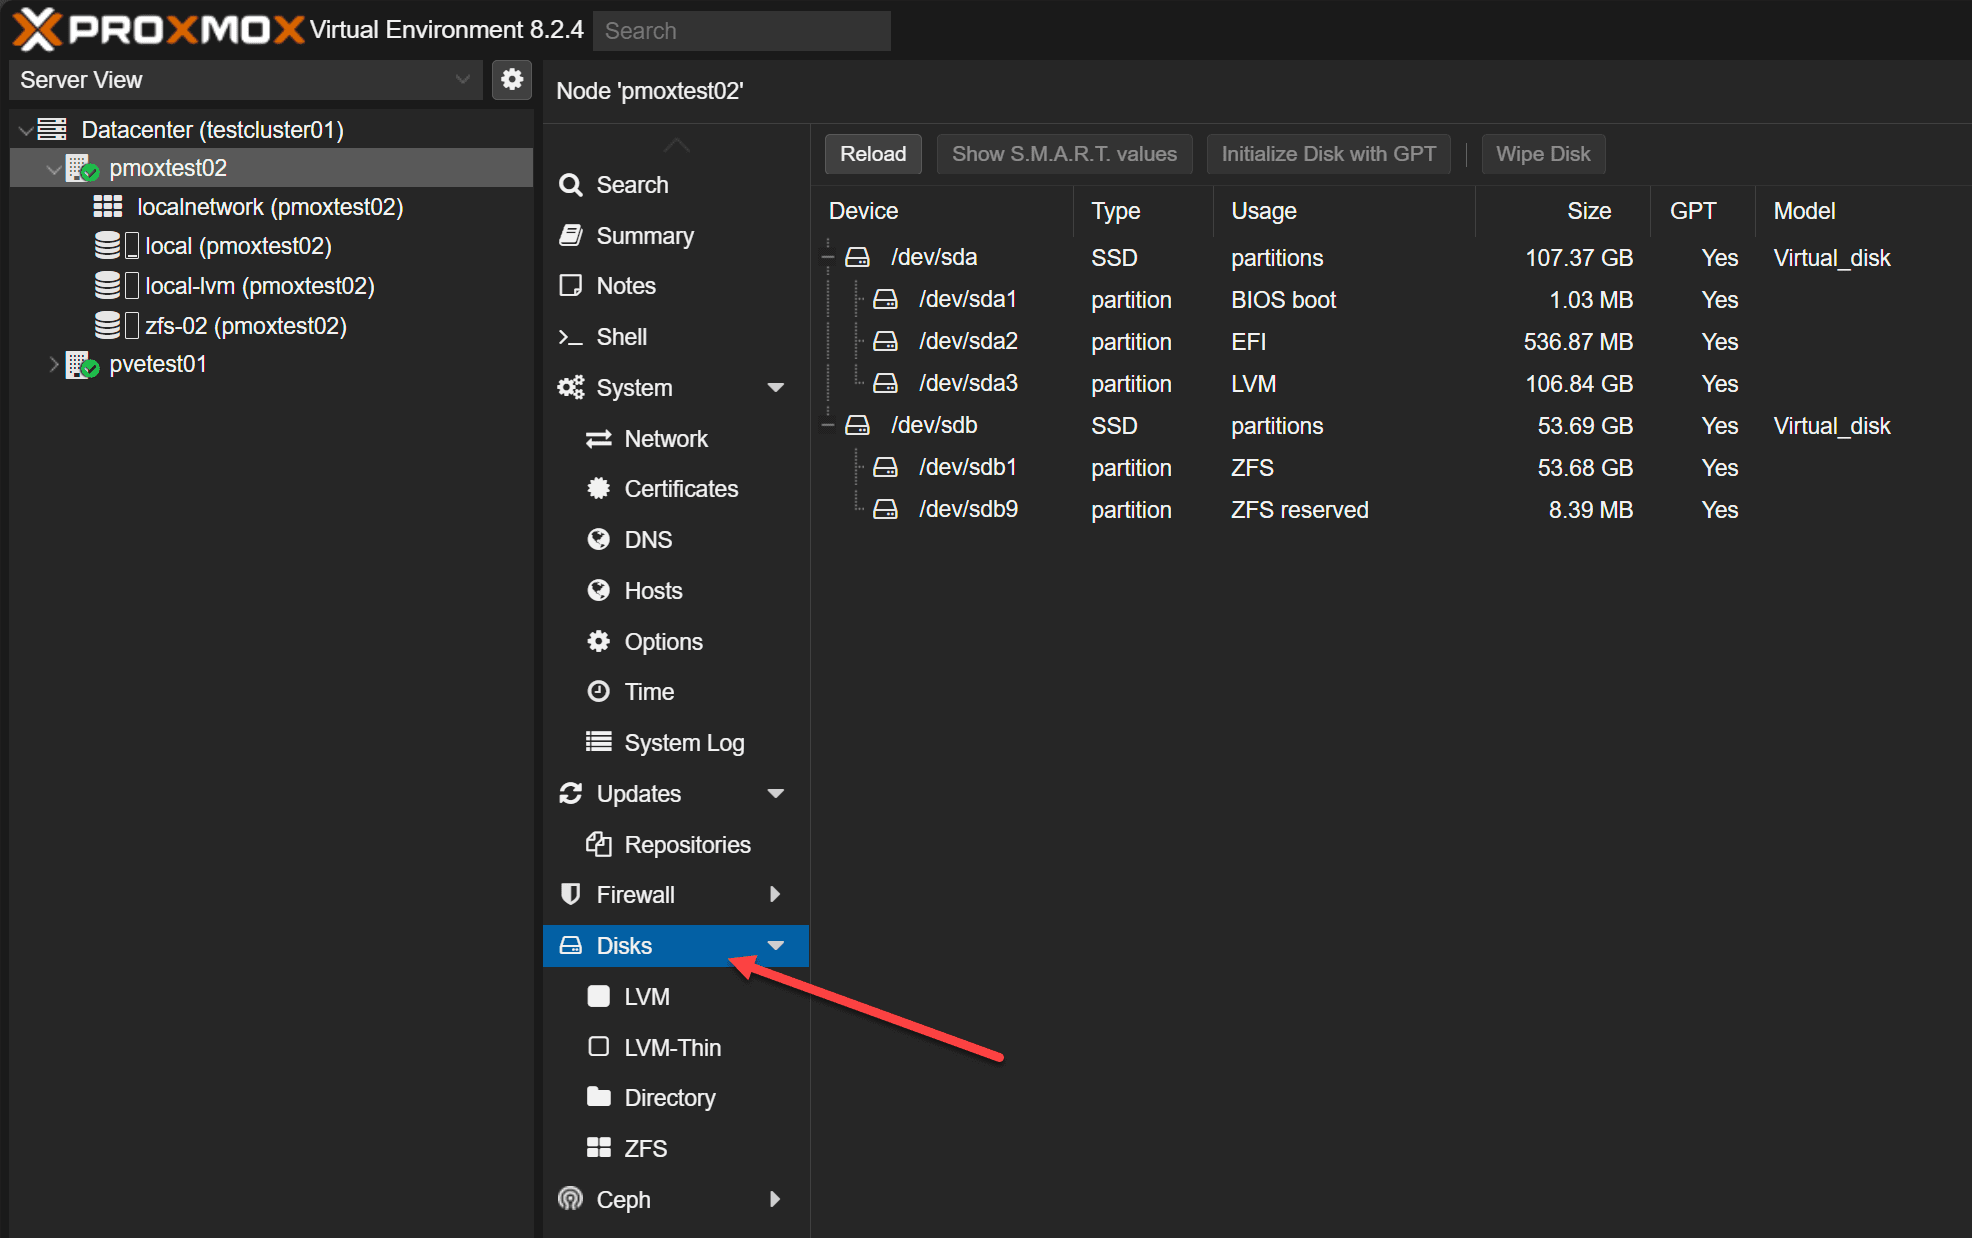
You can see the storage that is configured in your Proxmox environment, by clicking on the Proxmox Datacenter > Storage:
Below you can see the Proxmox node has local, local lvm, and ZFS storage.
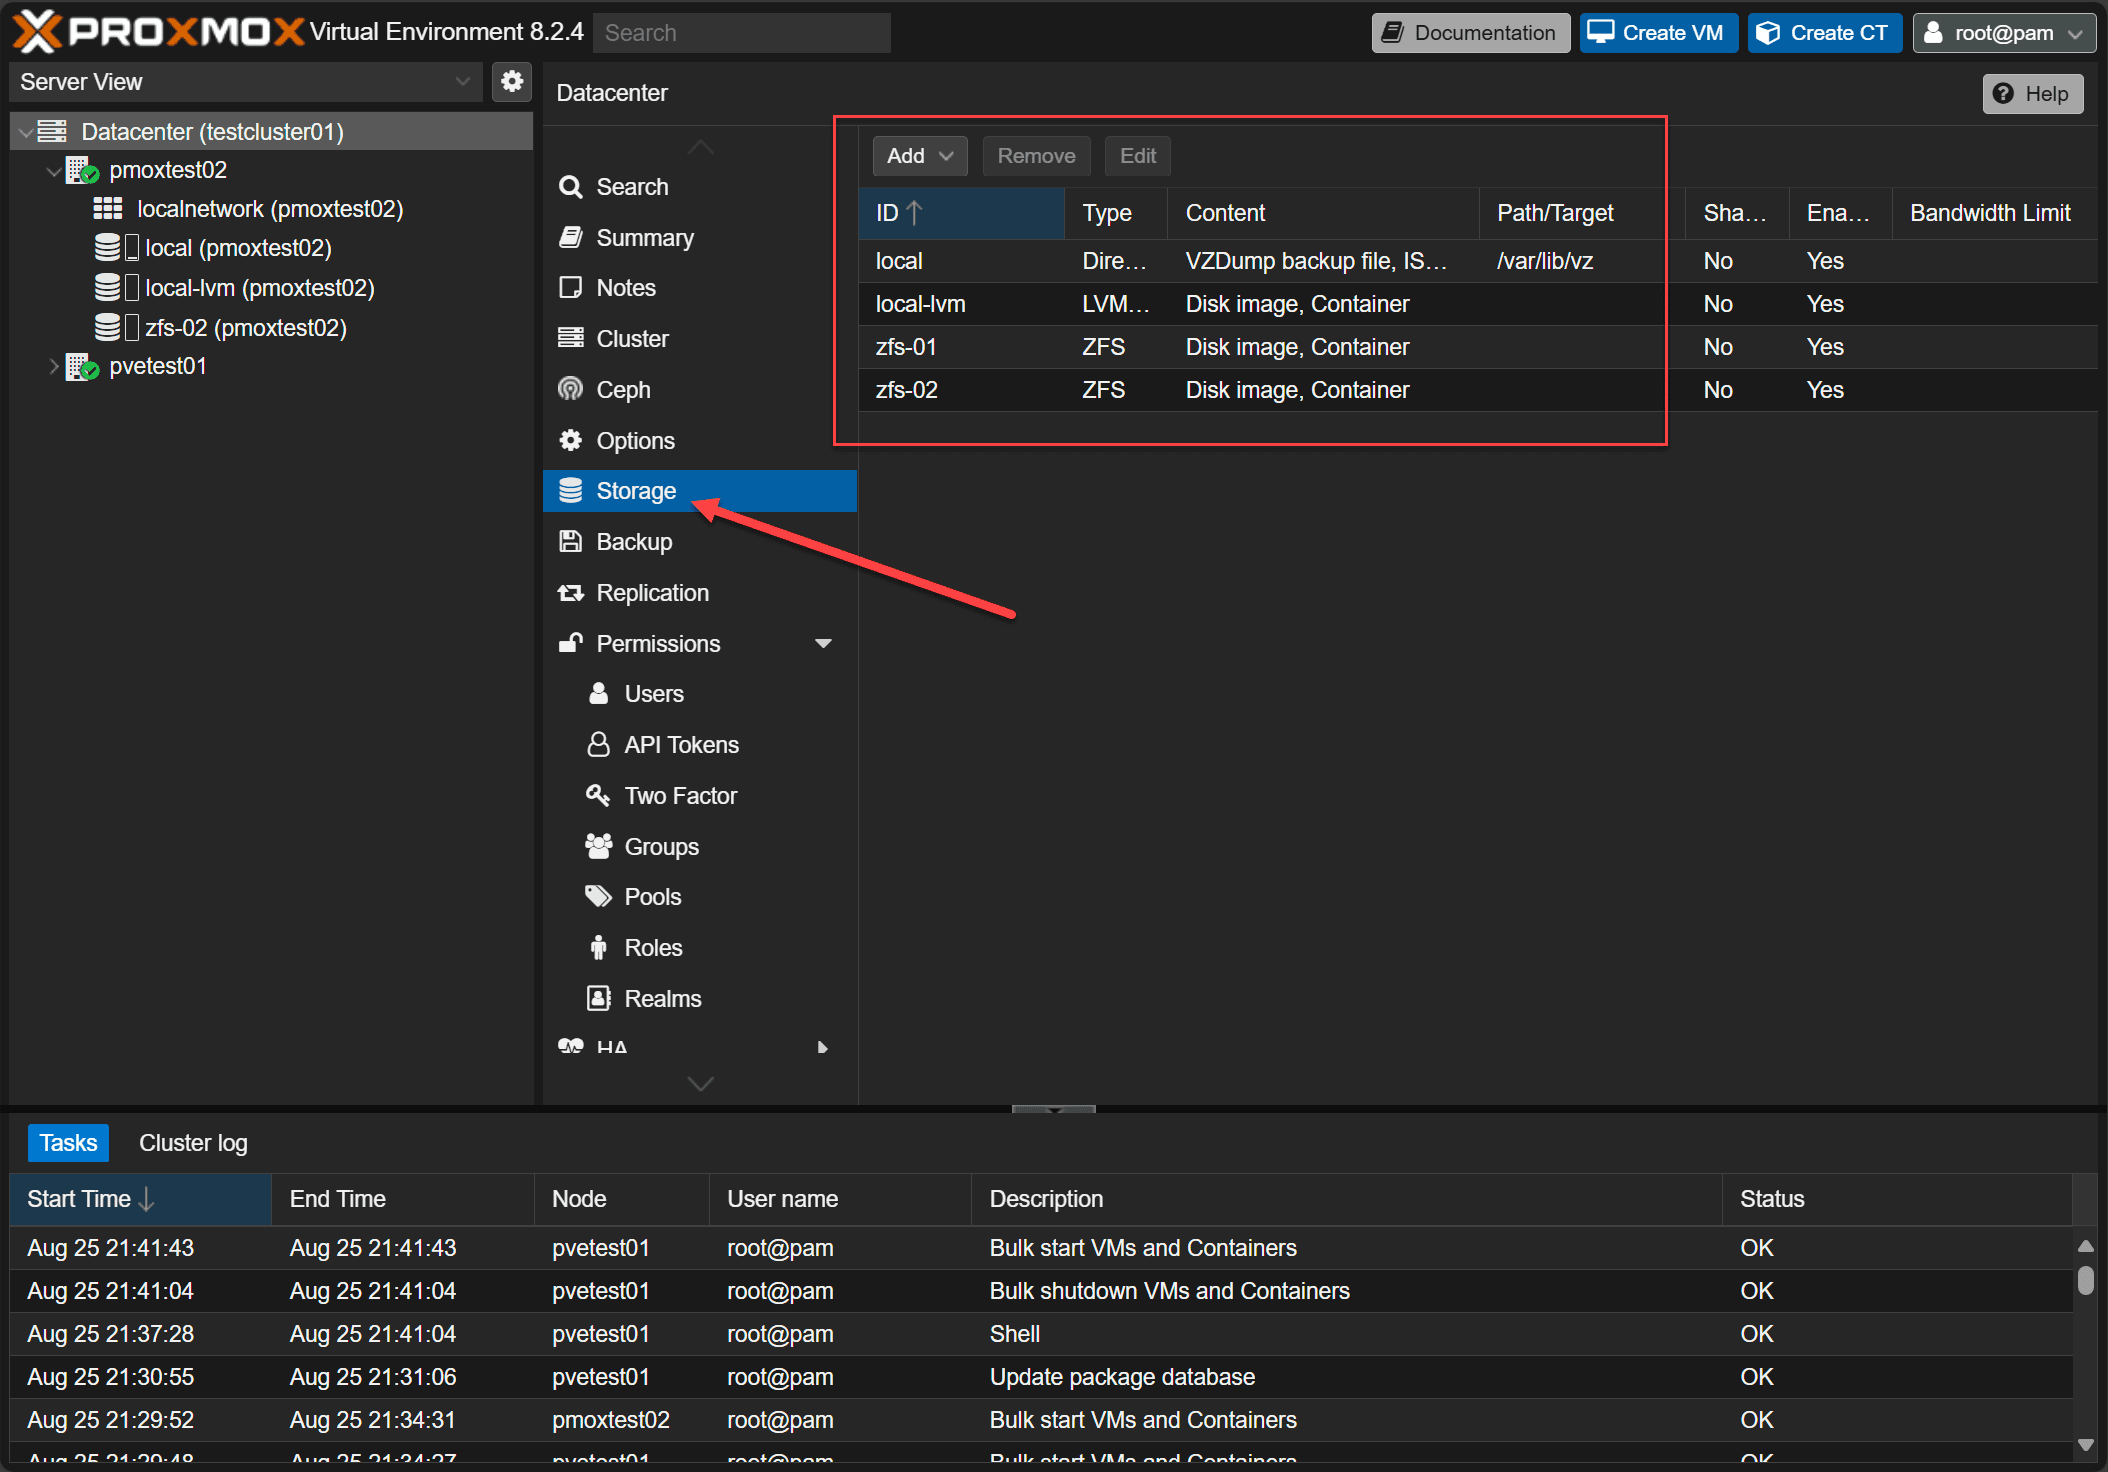
Also, in addition to the datacenter view, you can look at the local Proxmox server itself as well to see its configuration.
- LVM thin pool configuration can be done using the Proxmox web interface or command line.
- LVM thin pool configuration – requires a LVM volume group or volume groups and logical volume.
Proxmox storage – learning progression
I would recommend that anyone who is starting out learning Proxmox, stick first with local storage. Local storage will allow you to get a feel for Proxmox in general and how to manage and administer it and still have the storage functionality you want. NVMe storage is cheap these days. So, you can run a simple mini PC with an NVMe drive and install Proxmox and have a VERY capable home lab server.
Next, if you want to start delving into running things with high availability, you will need to transition to shared storage. If you have a NAS device that can do NFS or iSCSI, you can use this to set up shared storage between two or more Proxmox servers. These will both have connections to the shared storage and have the ability to run virtual machines from the shared storage. This way, if a host fails, the other host can assume ownership of the VMs that go down on the failed host and simply start these back up.
HCI storage is a special type of shared storage that allows using locally attached disks in your Proxmox hosts and combine these into a logical storage pool. HCI is all the rage for most businesses these days since they don’t have to maintain and purchase expensive SAN arrays. Ceph has its own requirements though that you need to note. So, I am putting it last on the Proxmox storage setup for beginners since you will want to get familiar with a few other things before diving into HCI.
Best practices to remember
- Use a consistent naming convention for storage configurations.
- Use storage groups to organize storage configurations.
- Regularly back up storage configurations.
Wrapping up
Proxmox storage setup for beginners is made fairly easy with all the options offered by Proxmox for storing your virtual machines and containers. You can start with local storage, then delve into shared storage to start playing around with Proxmox clustering, HA, and live migration. Also, you can take a look at Ceph storage for HCI configurations for 3 or more Proxmox hosts that you want to share internal storage between the Proxmox hosts without the need for a SAN or NAS for disk space.