The Dell System Update Utility is a command line utility that can be installed in many different operating systems. However, one you may not be aware of is VMware ESXi. You can install the DSU in VMware ESXi so you have an easy way at the command line to pull all the available system updates for your Dell PowerEdge servers. Let’s see how you can install the Desll System Update Utility in VMware ESXi and the steps involved.
Install Dell System Update Utility
The steps to install the utility in VMware ESXi are fairly straightforward. It is a simple .ZIP file that you download from Dell and then use the command line esxcli software vib install command to install the package.
First, download the utility from Dell from the link here: DELL System Update (DSU) | Dell US.
Choose the package that matches your ESXi version. Once you download the .ZIP file, you do not have to extract it. The esxcli software vib install command will take the ZIP file as it is to install.
Once you have downloaded the .ZIP file, copy it to the /tmp directory on your target ESXi server.
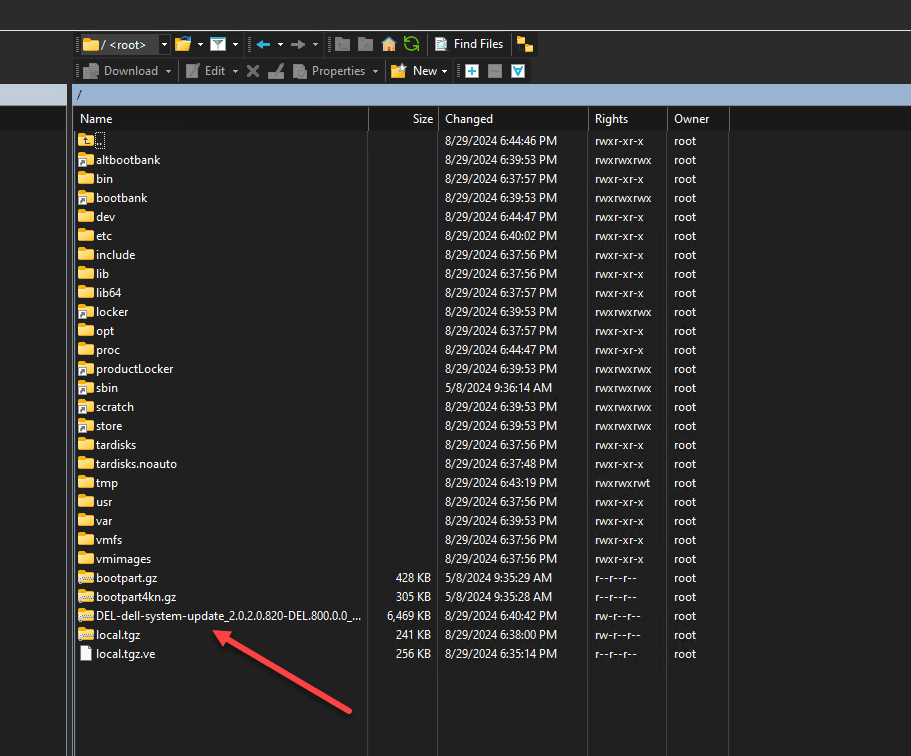
The command you need to run to install the Dell system update utility in VMware ESXi is the following. Be sure to replace the file name with the filename you download from Dell.
esxcli software vib install -d /tmp/DEL-dell-system-update_2.0.2.0.820-DEL.800.0.0_21376842.zipFinally, after installing it in VMware ESXi, just reboot your host:
rebootRunning the Dell System Update utility in VMware ESXi
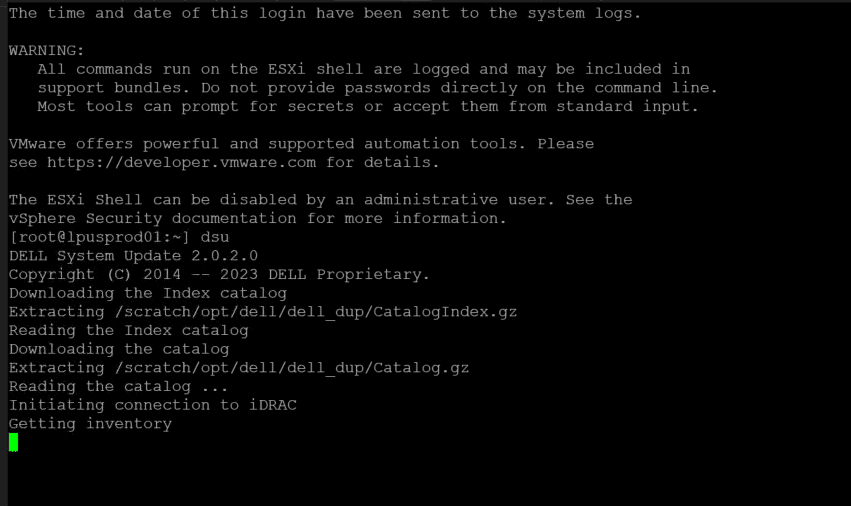
Running the Dell System Update utility in VMware ESXi is very easy. You simply establish an SSH session and type the command:
dsuWhen you type the dsu command it will automatically start scanning your system and running an inventory of hardware and possible updates.
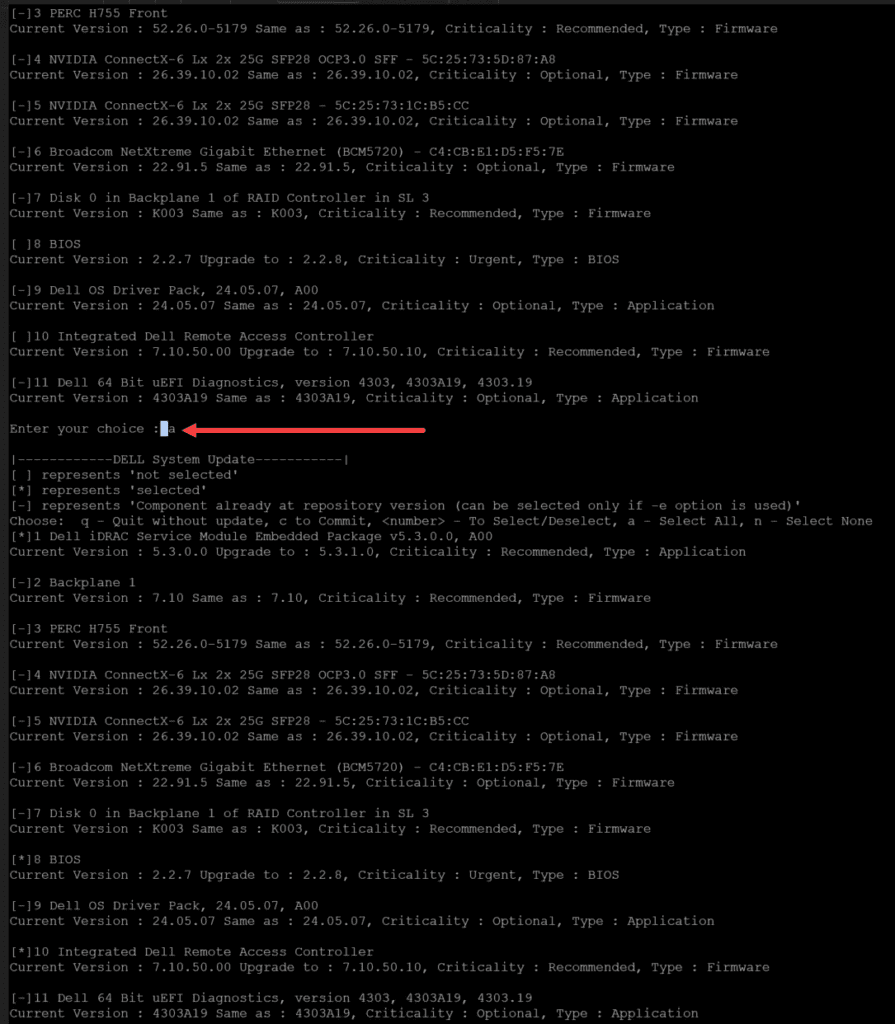
Once the initial scan is complete, you just select the updates you want to apply. There are a few things to note:
- Typing “a” means you are accepting all available updates
- Typing the “number” at the front of the listed update means you are selecting that update specifically
- Updates that appear with a “-” in the box at the front means you have the latest version
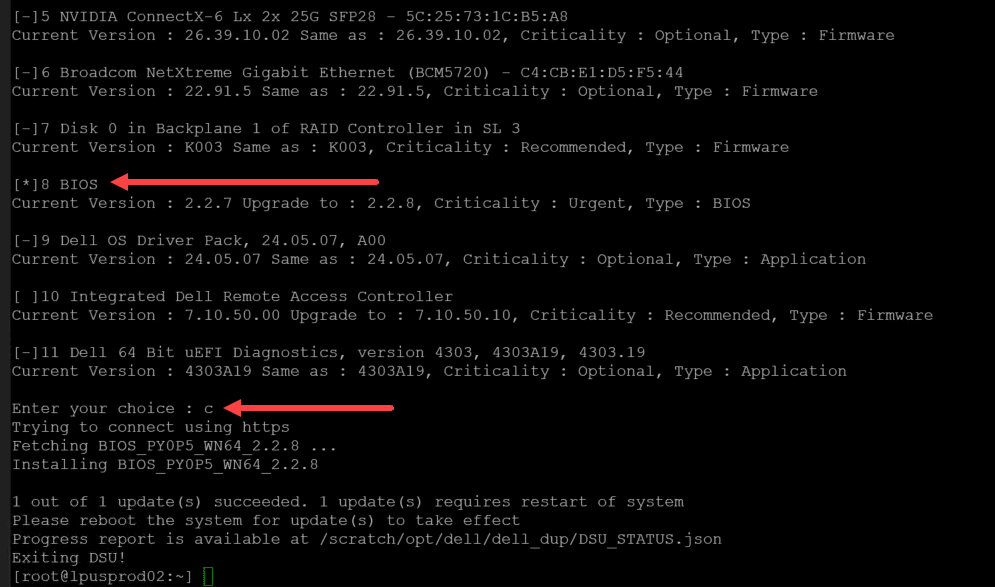
- When you select an update, it will place a “*” in the box at the front
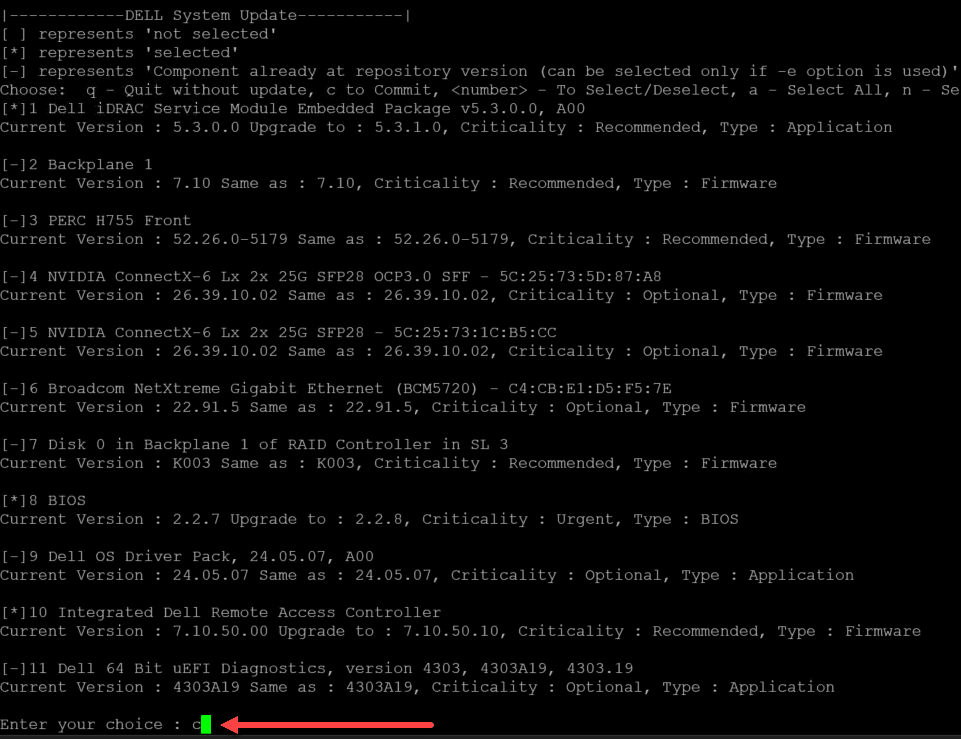
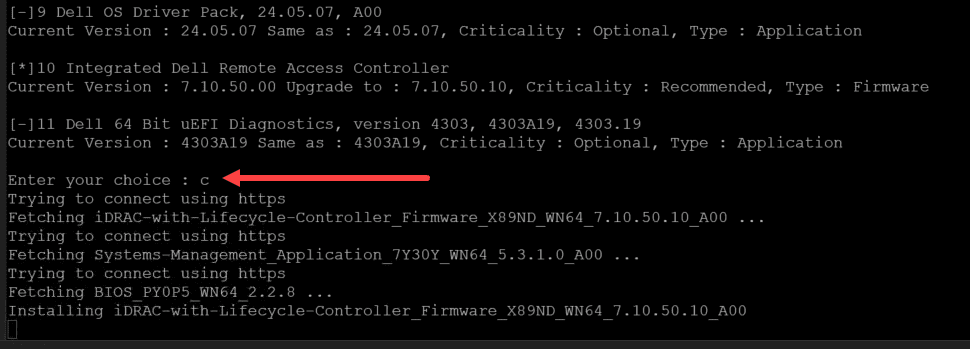
After you use one of the means to select updates, you need to confirm the updates you have selected by simply typing:
cHere another look at confirming the updates.
Below, you can see the asterisk that is place in front of selected updates.
Wrapping up
Hopefully this quick walkthrough of installing and running the Dell System Update (DSU) utility in VMware ESXi will help any who want to use this utility to keep their firmware and other updates applied to Dell PowerEdge servers. There are many great things you can do with this once installed, such as use it in automation to make sure your servers stay updated. We will look at some more of those options in a future blog post.
