There have been a lot of new features added recently in the VMware vSphere world, and especially with VMware vSphere 8.0 Update 3. Just when you think that you might find a vSphere alternative or think there is another solution that is better, VMware proves they still lead the pack and for good reason. One of the great new features in vSphere 8.0 Update 3 is a new feature that is in Tech Preview called NVMe memory tiering. What is this and what can you do with it?
What is NVMe memory tiering?
The new NVMe memory tiering (vSphere memory tiering) is a new feature that intelligently allows memory to be tiered to fast flash drives such as NVMe storage. It allows you to use NVMe devices that are installed locally in the host as tiered memory. This is not “dumb paging” as some have asked about the new feature. No, it is more than that. It can intelligently choose which VM memory is stored in which location.
Memory pages that need to be in the faster DRAM in the host are stored there. Then memory pages that can be tiered off into the slower NVMe storage can be tiered into that tier of memory so that the faster memory storage can be used when needed. Very, very cool.
You can read more officially about the new vSphere memory tiering feature in the official Broadcom article here: https://knowledge.broadcom.com/external/article/311934/using-the-memory-tiering-over-nvme-featu.html.
***Update*** – Limitations I have found after using it for a while
There are a couple of limitations and oddities that I wanted to list here after using the feature in real world testing in the home lab. These are things you should be aware of:
- You can’t take snapshots on virtual machines currently with memory included with VMs running on hosts with memory tiering enabled.
- I haven’t found this specifically in the callouts on the official documentation, but storage migrations fail for me as well. So, if you are simply doing a move of a VM from one datastore to another datastore, this will fail, likely due to underlying snapshot limitations that tie in with the above.
Update to vSphere 8.0 Update 3
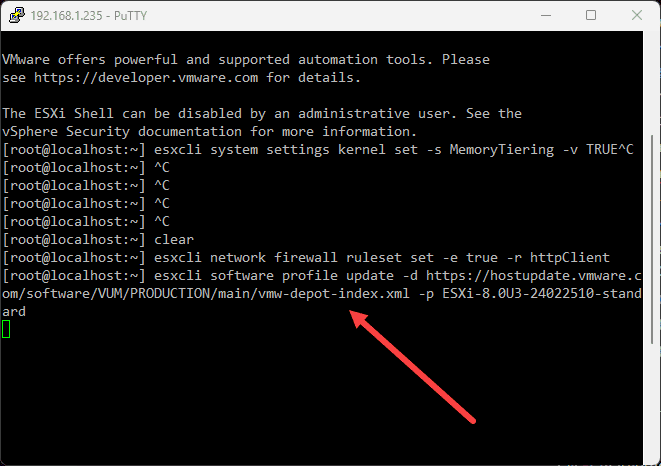
The steps to enable the NVMe memory tiering are fairly straightforward. First, you will need to make sure you are updated to vSphere 8.0 Update 3. If your ESXi host is not running ESXi 8.0 Update 3, you can easily update your ESXi host to this version using the command:
##Enable the HTTP client
esxcli network firewall ruleset set -e true -r httpClient

##Pull the vSphere 8.0 Update 3 update file
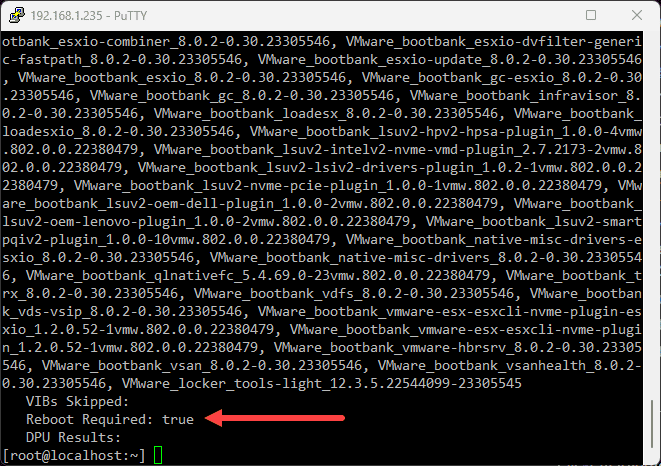
esxcli software profile update -d https://hostupdate.vmware.com/software/VUM/PRODUCTION/main/vmw-depot-index.xml -p ESXi-8.0U3-24022510-standardAfter a few moments, the update applies successfully. We need to reboot at this point.
Configuring NVMe memory tiering
NOTE: I am following the instructions first posted by William Lam on his blog site here: NVMe Tiering in vSphere 8.0 Update 3 is a Homelab game changer! and implementing these on a mini PC I have been testing with.
Now that we have the version we need for the tech preview of NVMe memory tiering, we can enable the new feature in three short steps:
Step 1
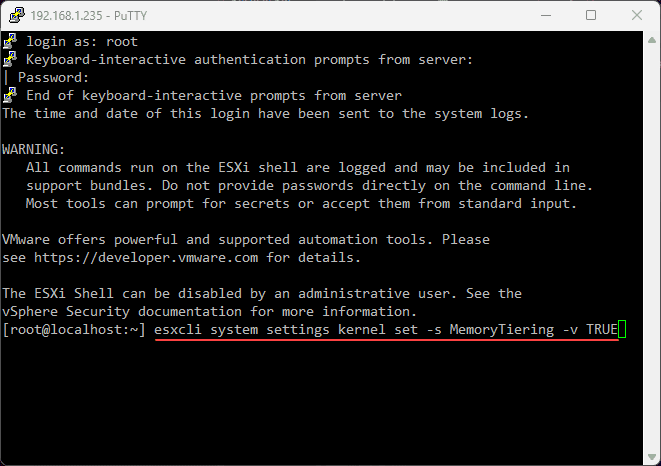
To actually enable the new feature, there is a simple one liner to use:
esxcli system settings kernel set -s MemoryTiering -v TRUEStep 2
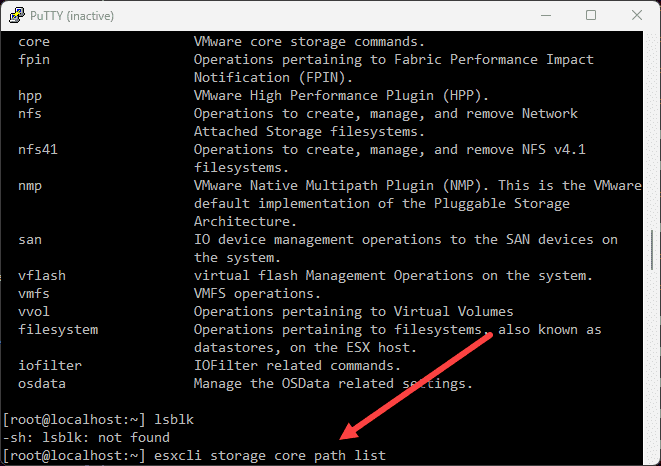
You need to find your NVMe device. To see the NVMe device string, you can use this command:
esxcli storage core path listStep 3
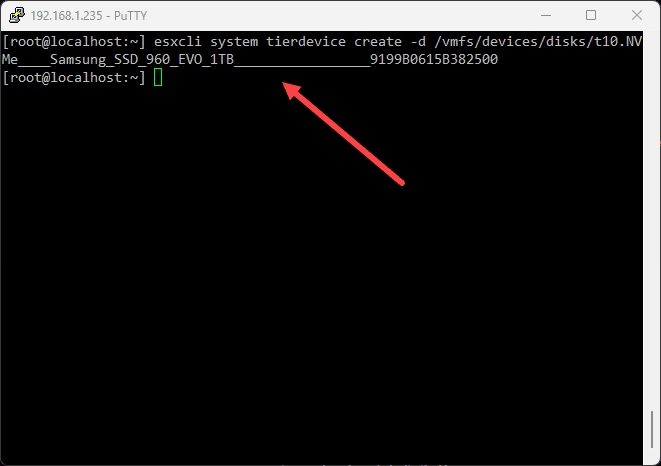
To configure your NVMe device you do the following. I had an old Samsung EVO 960 1 TB drive on the workbench to use. So, slapped this into my Minisforum mini PC and enabled using this command:
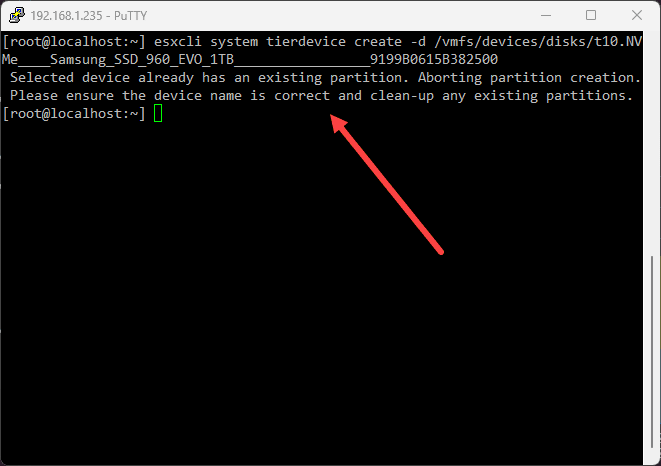
esxcli system tierdevice create -d /vmfs/devices/disks/t10.NVMe____Samsung_SSD_960_EVO_1TB_________________9199B0615B382500Note: If your NVMe drive already has partitions found on it, you will see an error message when you run the above command to set the tier device:
You can view existing partitions using the command:
partedUtil getptbl /vmfs/devices/disks/t10.NVMe____Samsung_SSD_960_EVO_1TB_________________9199B0615B382500Then you can delete the partitions using commands, with the “1, 2, and 3” being partitions that display in the output from the above command.
partedUtil delete /vmfs/devices/disks/t10.NVMe____Samsung_SSD_960_EVO_1TB_________________9199B0615B382500 1
partedUtil delete /vmfs/devices/disks/t10.NVMe____Samsung_SSD_960_EVO_1TB_________________9199B0615B382500 2
partedUtil delete /vmfs/devices/disks/t10.NVMe____Samsung_SSD_960_EVO_1TB_________________9199B0615B382500 3
After you clear all the partitions, rerun the command to configure the tier device. To see the tier device that you have configured, you can use the command:
esxcli system tierdevice list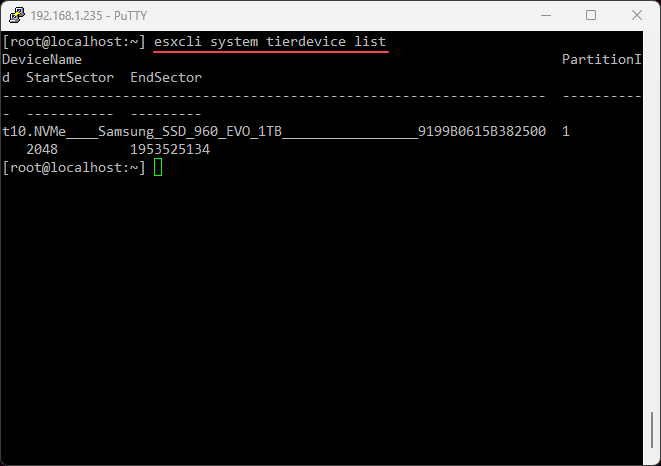
Step 4
Finally, we set the actual NVMe memory tiering percentage. The range you can configure is 25-400.
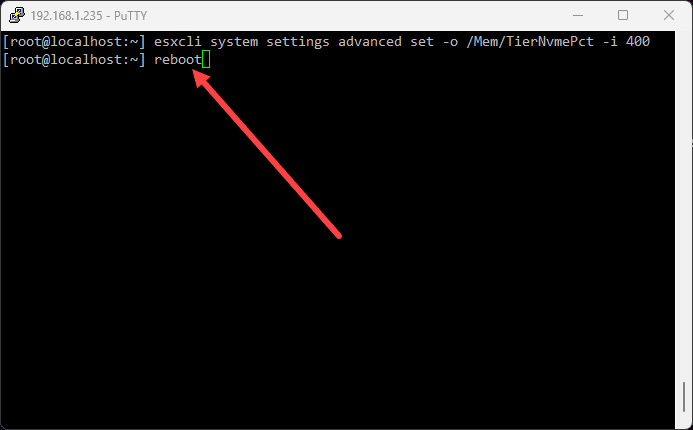
esxcli system settings advanced set -o /Mem/TierNvmePct -i 400Step 5
The final step in the process is to reboot your ESXi host
Viewing the memory of the mini PC after enabling
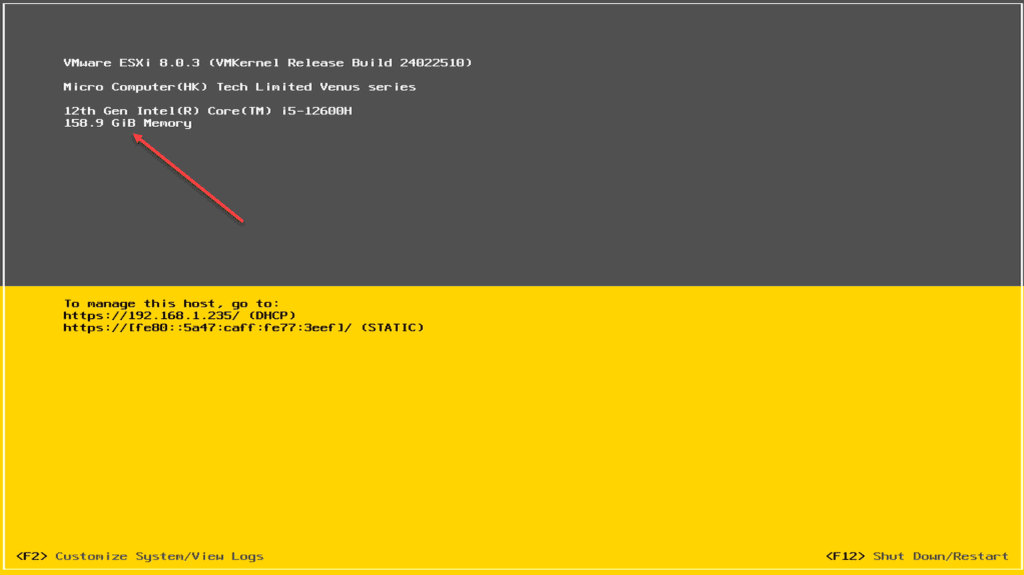
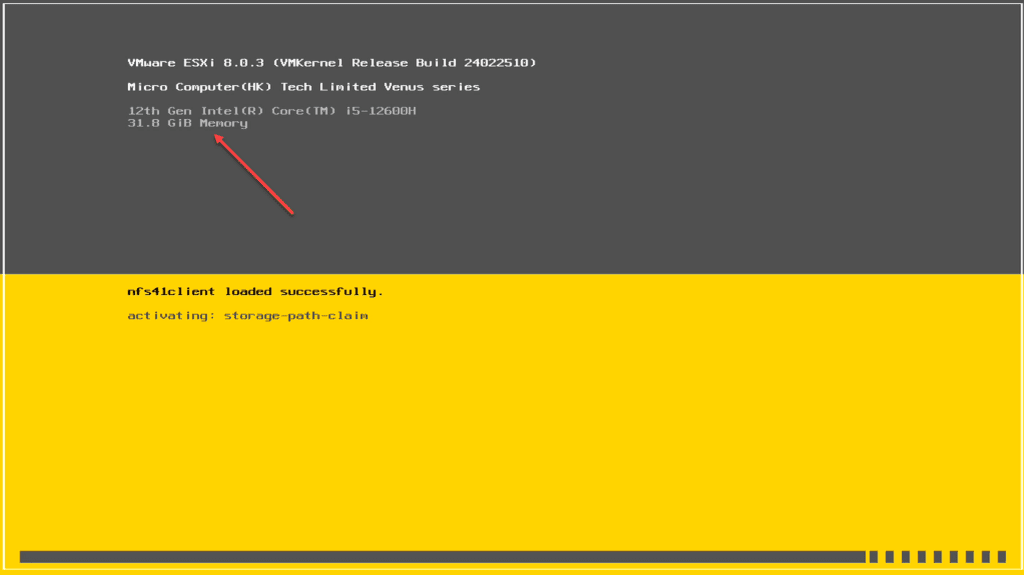
AFter the reboot, you can see the new memory, not when it is first booting, but wait a few moments after the boot process finishes. It will update the splash screen.
For example, this was after I enabled with the value of 400 on my device with 64 GB of RAM. When the box is still booting, you will see this:
But, after it finished loading everything:
Wrapping up
This is definitely an extremely exciting development and the possibilities of being able to extend home labs and edge environments with this new functionality is pretty incredible. Keep in mind this is still in tech preview, so it isn’t fully production ready yet, although in the home lab, we are not limited by those kinds of recommendations 🙂
Hi Brandon,
If I were to buy a spare NVME, get an enclosure, and hook it up to my laptop, will this allow me to take advantage of this new feature to get more ram for my mini home lab?
Thomas,
Your laptop would need to be running ESXi as I don’t believe there is a way to pass through NVMe in an enclosure so that it would be recognized by like a nested instance of ESXi. Are you running ESXi on your laptop directly? Also, even then I am not sure as I haven’t tested that, to know whether ESXi would view a USB connected NVMe drive as suitable for memory tiering.
Brandon
Hi Brandon,
Thanks for the very informative way to do this! I tried replicating this, however my NVME was not detected. What is the brand and model of the NVME device you used for this just in case there are plenty of us out there who wanted to do the same? Thanks again!
Andrew,
Thanks for the comment! That is interesting on your NVMe drive. Are you meaning when you run the
esxcli storage core path listcommand, you are not seeing your NVMe drive listed there?Brandon
hi,
thanks for sharing this article,
isn’t it just swap memory with branding?
what is the performence of it vs. swap?
thanks
Hi Brandon, great thanks for all your posts and videos. Great content. Inspiring and motivation. To such a degree that I bought two MS-01s and a Terramaster F8 SSD Plus. And I just configured my first memory tiering. Total memory capacity is 478.68 GB now. Your channel is one of my most favorite. Thank you.