
I love automation, especially when testing out new things in the home lab. Recently, I have been running performance and density tests on mini PCs in the home lab. These have produced some incredible results. However, in working with my test of cloning virtual machines, I quickly realized I needed to use automation for the cloning process. So, as I go into testing cloning LXC containers, I decided to use Terraform for quick IaC automation. Let’s look at Proxmox Terraform automation for cloning and tearing down infrastructure.
Why Terraform?
There are a lot of tools out there that can easily clone resources in Proxmox. I could have picked Ansible as well. However, this kind of thing is Terraform’s bread and butter and it does extremely well with these kinds of tasks, so this is what I went with.
With Terraform, I could easily spin up resources and also destroy resources with the terraform apply and terraform destroy commands.
Prerequisites
There are a few prerequisites that you will need beforehand. First of all, you will need to have a user that you want to use for the devops tasks in your Proxmox environment. I created a new user called:
terraform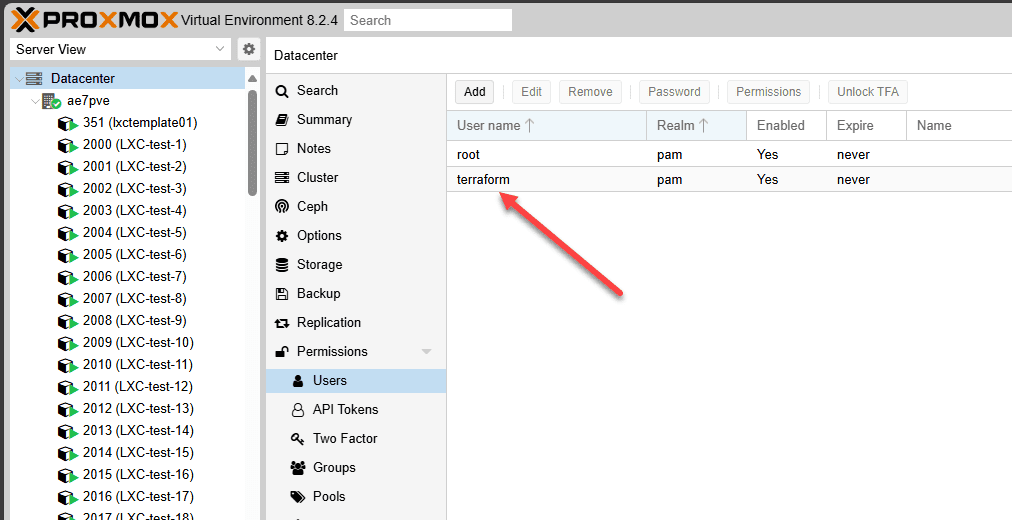
Next, you will need to assign permissions to your terraform user. For ease of use, I simply gave the user administrator privileges in the environment. However, there are specific permissions noted by Proxmox that you can use to create a role for your terraform provider.
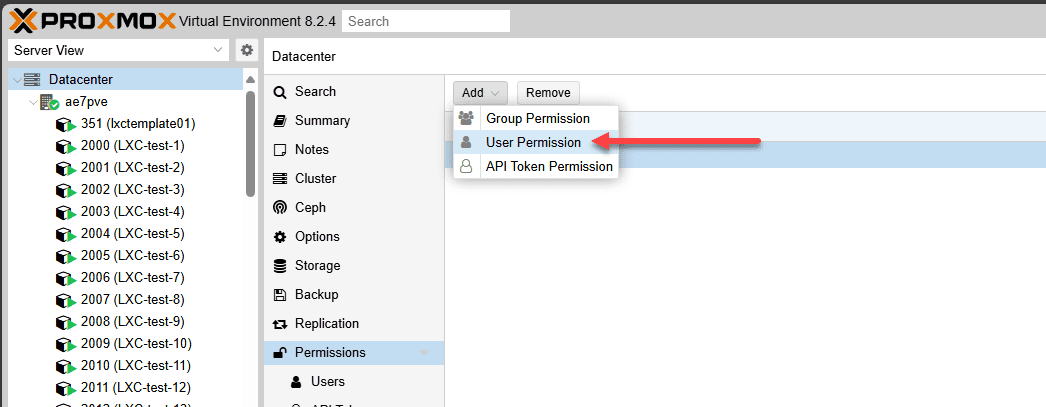
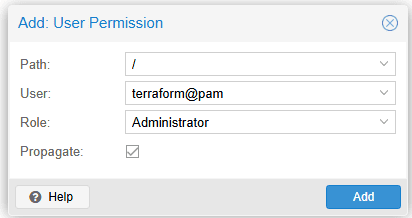
If you don’t want to give admin permissions, here is an example of the role permissions that you might want to use. This creates the role TerraformDevOps:
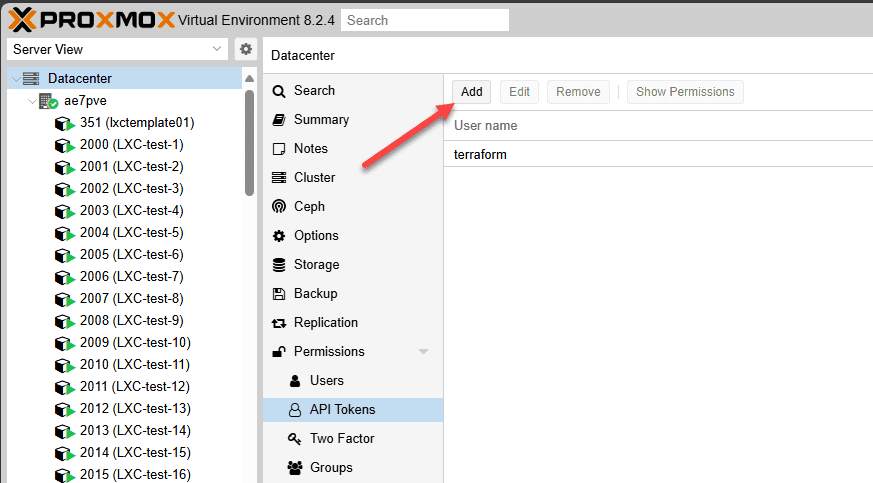
pveum role add TerraformDevOps -privs "Datastore.AllocateSpace Datastore.Audit Pool.Allocate Sys.Audit VM.Allocate VM.Audit VM.Clone VM.Config.CDROM VM.Config.CPU VM.Config.Cloudinit VM.Config.Disk VM.Config.HWType VM.Config.Memory VM.Config.Network VM.Config.Options VM.Monitor VM.PowerMgmt"Adding an API token
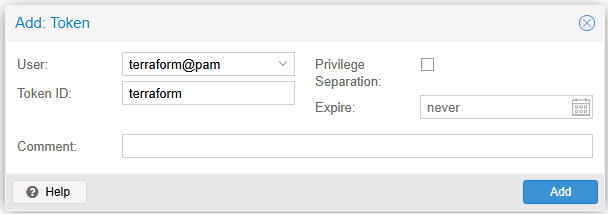
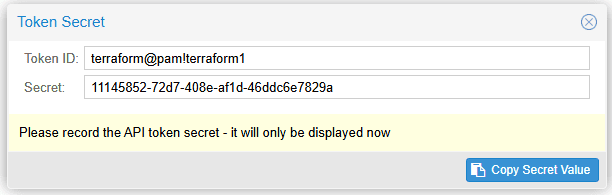
We will need an API token to interact with the Proxmox API from Terraform. It is easy to add the token in the Proxmox GUI:
Terraform code
The code to use with Terraform is fairly straightforward. However, I have things broken into the following:
- main.tf
- variables.tf
- terraform.tfvars
main.tf
The main.tf file has the following contents:
terraform {
  required_providers {
    proxmox = {
      source = "telmate/proxmox"
    }
  }
}


provider "proxmox" {
  pm_api_url          = var.pm_api_url
  pm_api_token_id     = var.pm_api_token_id
  pm_api_token_secret = var.pm_api_token_secret
  pm_tls_insecure     = true
}


resource "proxmox_lxc" "test-container" {
  count        = var.lxc_count
  hostname     = "LXC-test-${count.index + 1}"
  target_node  = var.node_name
  vmid         = 2000 + count.index # Ensure unique VMIDs
  ostemplate   = "local:vztmpl/${var.lxc_template}"
  cores        = var.lxc_cores
  memory       = var.lxc_memory
  password     = var.lxc_password
  unprivileged = true
  onboot       = true
  start        = true

  rootfs {
    storage = "local-lvm"
    size    = "8G"
  }

  features {
    nesting = true
  }

  network {
    name   = "eth0"
    bridge = "vmbr0"
    ip     = "dhcp"
    type   = "veth"
  }
}
variables.tf
The variables.tf file has the following contents:
variable "pm_api_url" {
  type = string
}

variable "pm_api_token_id" {
  type = string
}

variable "pm_api_token_secret" {
  type      = string
  sensitive = true
}

variable "node_name" {
  type    = string
  default = "your-proxmox-node"
}

variable "lxc_template" {
  type    = string
  default = "ubuntu-22.04-standard_22.04-1_amd64.tar.zst"
}

variable "lxc_storage" {
  type    = string
  default = "local-lvm"
}

variable "lxc_password" {
  type      = string
  default   = "your-lxc-password"
  sensitive = true
}

variable "lxc_memory" {
  type    = number
  default = 512
}

variable "lxc_cores" {
  type    = number
  default = 1
}

variable "lxc_count" {
  type    = number
  default = 150
}
terraform.tfvars
The terraform.tfvars file has the following contents. Of course, you will want to replace with the values for your environment.
pm_api_url          = "https://10.1.149.52:8006/api2/json"
pm_api_token_id     = "terraform@pam!terraform"
pm_api_token_secret = "92537dbb-33d1-41f3-8d45-818acff73fd8"
node_name           = "ae7pve" # replace with your Proxmox node name
lxc_password        = "Letmein1$"
Running the terraform code
You can install Terraform easily either by downloading the binary directly from Hashicorp, or you can if you are on Windows use winget to install:
winget install Hashicorp.TerraformAfter you install Terraform, you will need to run through the process workflow for Terraform, including the following:
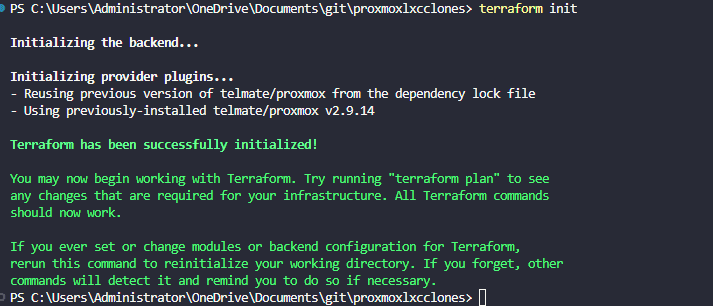
terraform init
terraform plan
terraform apply
Terraform init will pull down the telmate/proxmox provider:
terraform {
  required_providers {
    proxmox = {
      source = "telmate/proxmox"
    }
  }
}
Next, we will run terraform plan. This step isn’t required. However, it is a good idea to run this as it will help you see any syntax or other issues before you run your terraform apply.
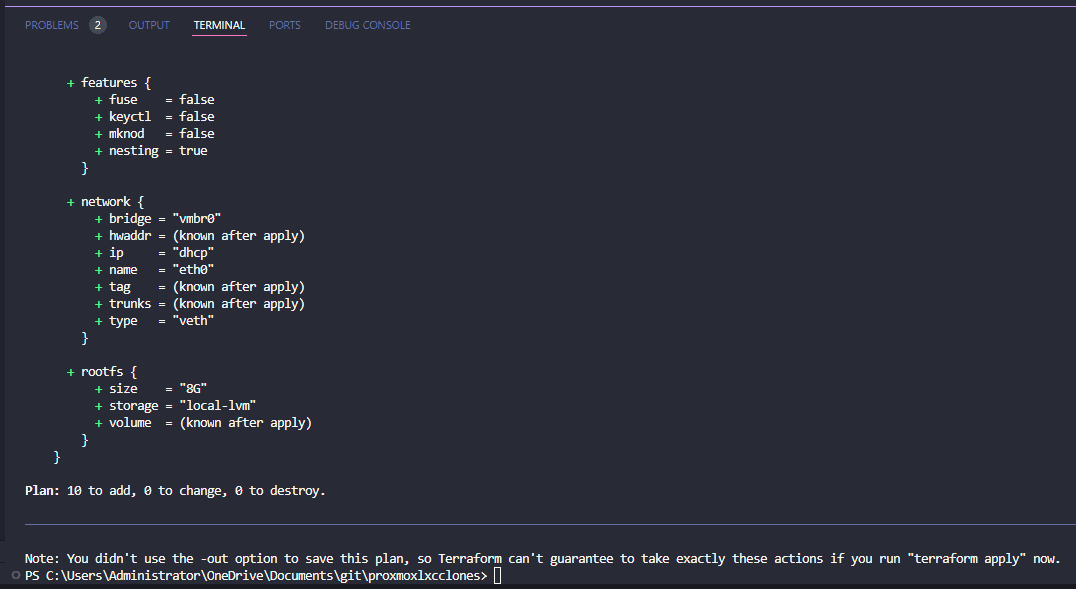
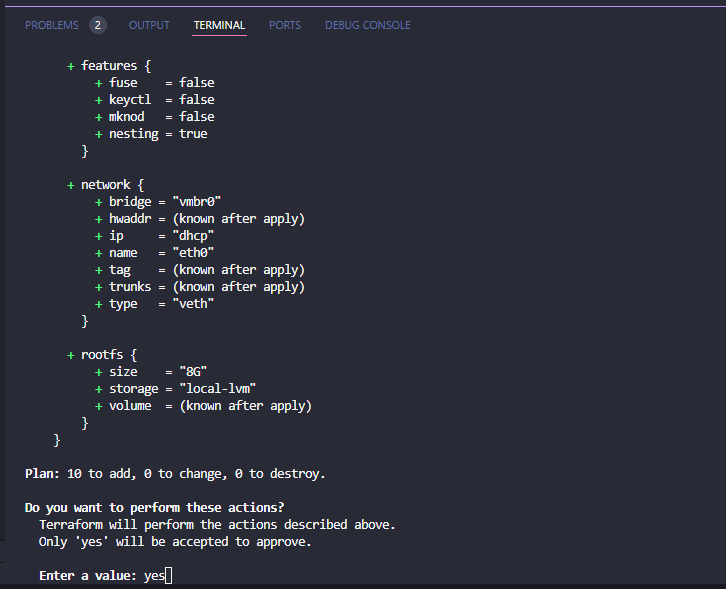
If everything looks good, we can run the terraform apply command. This will look basically like the output of the terraform plan command. However, you will need to enter yes if you want to confirm the operation to apply the state to your infrastructure.
Destroying the infrastructure with Terraform Destroy
You definitely want to be careful with this command. However, it is very handy, especially in lab environments to use this to tear down temporary infrastructure you have created using Terraform. The terraform destroy command looks at the state file and will destroy resources created as part of a terraform apply.
Like the terraform apply command, it will have you confirm the operation before it begins.

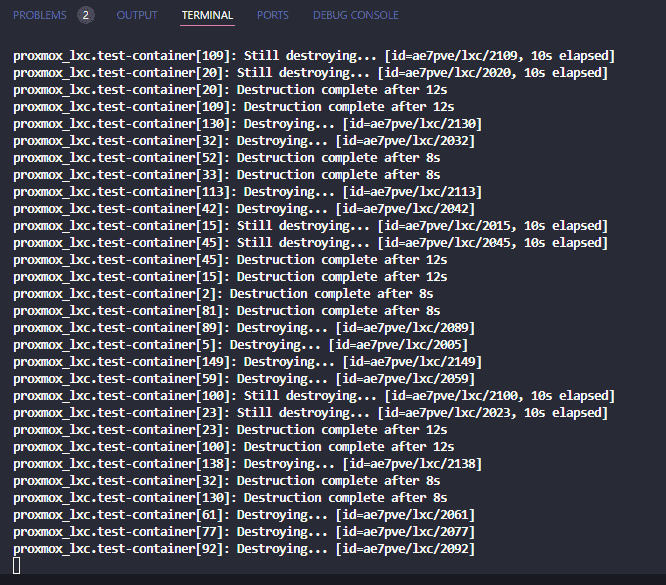
After issuing the confirmation yes to the command, it will begin the destroy operation.
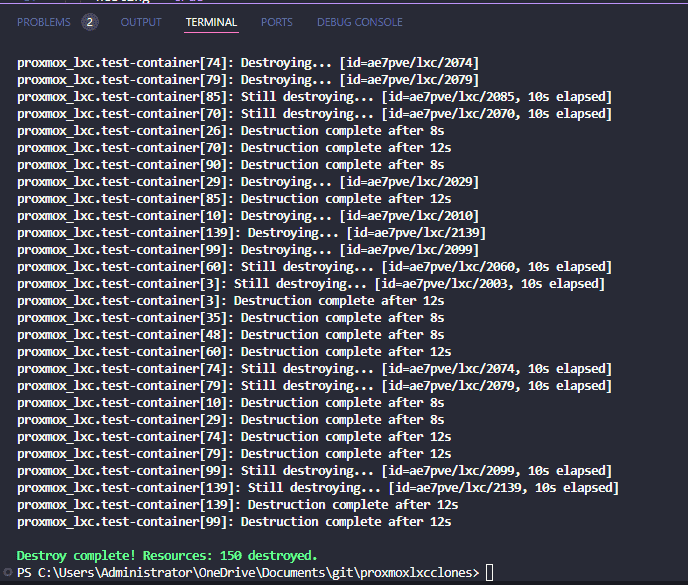
Resources successfully destroyed.
Wrapping up
Terraform is an excellent tool for home lab, production, and cloud environments to make your infrastructure “look” like you want it to look. If you are running tests with temporary machines or containers, this is a great way to clone over resources in mass and easily tear it back down once you are finished.
Let me know in the comments how you are using Terraform in your environment to manage your infrastructure, or if you are using something else to take care of provisioning and tearing things down in an automated way.
This was excellent. Could you do a guide please on using terraform to create vms please?
If you do so please cover the cloud-init part in detail as people always skip over that.
People always skip over that part.
David,
thank you for the comment! So glad it was helpful. Definitely will spin up more terraform and Promxox content, including provisioning VMs. Stay tuned.
Brandon